Introduction: The Need for Sound Dampening Panels
In today’s world, noise pollution is an ever-present problem that affects our daily lives. Whether it’s the constant hum of traffic, noisy neighbors, or the echo within large rooms, unwanted sound can significantly impact our comfort and efficiency. Sound dampening panels are designed to absorb these noises, improving the acoustic quality of any space. Installing these panels yourself not only saves money but also gives you control over the placement and design, ensuring optimal results tailored to your specific needs.
Preparing for Installation
Before diving into the installation process, proper preparation is crucial. This involves selecting the right panels, gathering the necessary tools, and planning the layout. Achieving the perfect acoustic environment in your home or office can seem like a daunting task, especially when unwanted noise disrupts your peace and productivity. Fortunately, sound dampening panels offer a practical solution. But did you know you can install these panels yourself without needing professional help? This comprehensive guide will walk you through the step-by-step process of installing sound dampening panels, making it easy for you to transform any space into a haven of tranquility and clarity.
Choosing the Right Panels
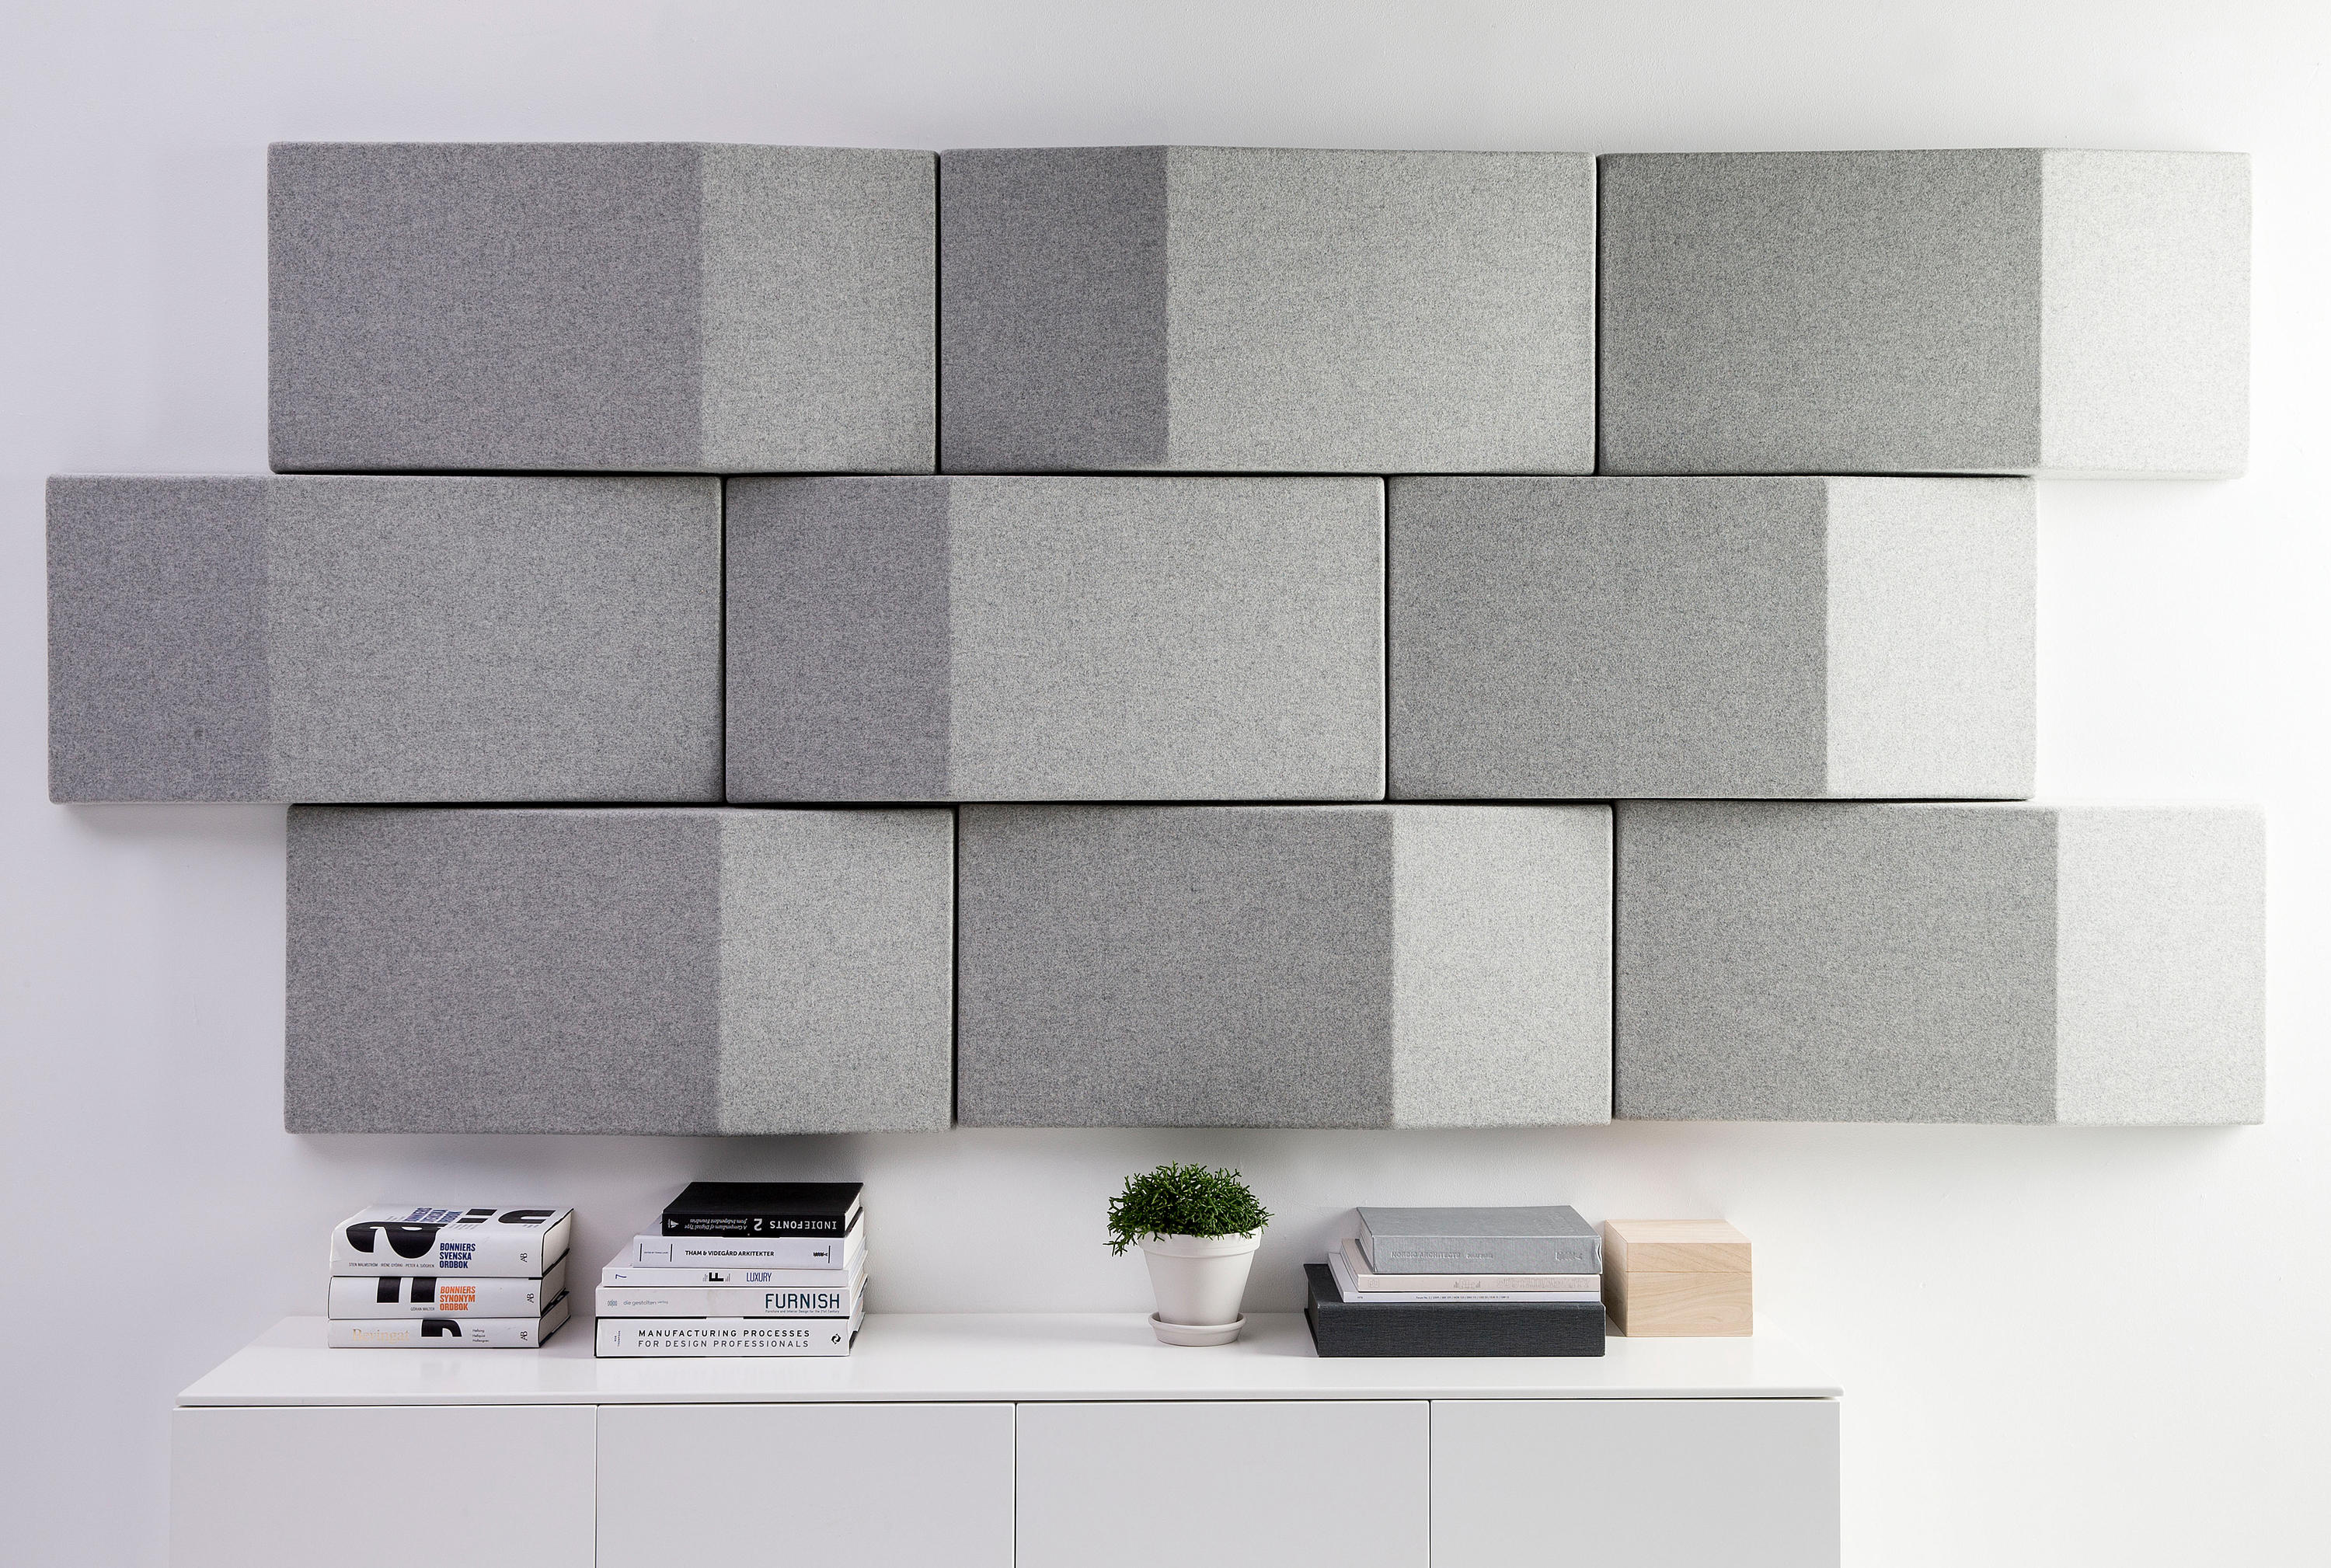
The first step is choosing the appropriate sound dampening panels for your space. Panels come in various materials, including foam, fiberglass, and fabric-wrapped options. Foam panels are lightweight and easy to handle, making them ideal for small spaces and DIY projects. Fiberglass panels offer superior sound absorption but can be more challenging to install due to their weight. Fabric-wrapped panels provide a blend of aesthetics and functionality, perfect for spaces where design is a priority. Consider the specific acoustic challenges of your space, such as the types of noises you want to reduce and the room’s size, when selecting your panels.
Gathering Tools and Materials
Having the right tools and materials on hand will make the installation process smoother. Essential tools include a tape measure, level, utility knife, adhesive spray, and mounting hardware such as brackets or clips. Depending on the type of panels you choose, you may also need a stud finder and drill. Ensuring you have all the necessary tools before you start will help avoid interruptions and ensure a more efficient installation process.
Planning the Layout
Effective placement of sound dampening panels is key to achieving the desired acoustic results. Start by identifying the primary sources of noise and areas where sound reflections are most problematic. Common reflection points include walls, ceilings, and corners. Once identified, plan your panel placement to cover these areas effectively. Sketching a layout on paper or using a room planning app can help visualize the placement and ensure you have enough panels to cover the intended spaces.
Step-by-Step Installation Process
With your panels, tools, and layout plan ready, it’s time to start the installation. Follow these steps for a successful DIY installation of sound dampening panels.
Measuring and Marking
Begin by measuring the areas where you plan to install the panels. Use a tape measure to determine the dimensions of each panel and mark the placement on the wall or ceiling with a pencil. Ensure that the marks are level and evenly spaced for a uniform look. Accurate measurements and markings are crucial for a professional finish and effective sound absorption.

Cutting the Panels (if necessary)
If your panels need to be cut to fit specific areas, use a utility knife to make precise cuts. Cutting panels to fit around outlets, light switches, or other obstructions may be necessary. Always measure twice and cut once to avoid mistakes. When cutting, ensure you have a stable surface and use a straightedge to guide the knife for clean, straight cuts.
Applying Adhesive
For most foam and fabric-wrapped panels, adhesive spray is the preferred method for attaching them to walls or ceilings. Apply the adhesive spray to the back of the panel and the marked area on the wall. Allow the adhesive to become tacky before pressing the panel firmly into place. For heavier fiberglass panels, you may need to use mounting hardware such as brackets or clips. Follow the manufacturer’s instructions for the best results and ensure a secure fit.
Mounting the Panels
Carefully align each panel with your marked placement and press firmly to ensure good adhesion. If using brackets or clips, position them according to the manufacturer’s guidelines and secure the panel in place. Use a level to ensure each panel is straight before the adhesive sets. Continue this process for all panels, checking alignment and spacing regularly to maintain a uniform appearance.
Securing the Panels
Once all panels are in place, allow the adhesive to cure fully as per the manufacturer’s instructions. This usually takes a few hours to overnight, depending on the adhesive used. For panels mounted with brackets or clips, check each one to ensure it is securely fastened. Make any necessary adjustments before the adhesive sets to achieve the best results.
Tips for Optimal Acoustic Performance
To maximize the effectiveness of your sound dampening panels, consider these additional tips.
Addressing Corners and Ceilings
Corners and ceilings are often overlooked but can significantly impact the acoustic quality of a room. Installing corner bass traps and ceiling clouds can enhance sound absorption and reduce echo. Bass traps are designed to absorb low-frequency sounds that accumulate in corners, while ceiling clouds can help with sound reflections from above. Including these in your installation plan can lead to a more balanced and effective sound control solution.
Layering for Enhanced Absorption
For rooms with severe noise issues, layering sound dampening materials can provide enhanced absorption. This involves using a combination of different types of panels or adding additional layers to existing ones. For example, placing foam panels over fiberglass panels can increase the overall sound absorption capacity. Layering is particularly useful in spaces like recording studios or home theaters where optimal acoustic quality is essential.
Regular Maintenance
Sound dampening panels require minimal maintenance, but regular checks can ensure they remain effective. Inspect the panels periodically for signs of wear or damage, such as tears or detachment from the wall. Clean the panels according to the manufacturer’s recommendations to prevent dust buildup, which can affect their performance. Keeping the panels in good condition will prolong their lifespan and maintain their acoustic benefits.
Conclusion: Enjoying the Benefits of a Quieter Space
Installing sound dampening panels yourself can be a rewarding project that significantly improves the acoustic quality of your space. By following the steps outlined in this guide, you can effectively reduce unwanted noise and create a more comfortable and productive environment. Whether it’s for a home office, recording studio, or living room, sound dampening panels offer a practical solution to noise pollution. Embrace the quiet and enjoy the benefits of a space tailored to your acoustic needs. In this article, we’ve explored the step-by-step process of installing sound dampening panels, providing you with the knowledge and confidence to tackle this project on your own. From choosing the right panels to proper placement and installation techniques, you now have the tools to create a quieter and more pleasant environment. By addressing noise issues head-on, you can transform any space into a haven of peace and productivity. So, gather your tools, plan your layout, and get ready to enjoy the tranquility of a well-damped room.
Note :- To Read More Articles Visit on- primarynews


